I have found that having an Ideas Junk Journal / Reference Journal has helped me so much when I am having creative block. Having a couple of these ideas style journals helps to keep the inspiration going.
I have shared the flip through of my first one before, but here it is just in case you have not seen it. I am now working on starting my 3rd such journal / reference book and I have to decide what size I want to work with next. I might film a tutorial on how I put the actual journal together. I think I will try a different style of journal for the next one.
I have also filmed a few videos showing the process of most of the ideas in my second journal. I have made so many projects, it is so much easier to remember the process this way. I hope you enjoy this quick share and have time to make your own ideas journal! You will find the links to many of the other projects on my Junk Journal #2 flip through.
I really enjoyed making this easy mini album / folio. The base is made using one sheet of 12" paper! You can use a single sided sheet or a double sided one.
I found using a double sided sheet of paper makes it easier for decorating, and it looks just a lovely! I added some of my new mini digital ephemera, which I made to fit in this mini album. You will find my digital links on my shop tab.
Measurements: Use a 12" x 12" Sheet of paper. Score one side at 3 1/2", 4", 8" and 8 1/2", turn your paper to the left, and score at 3" and 7 1/2"
I hope you enjoyed the tutorial! Leave a comment if you want to see more of these types of crafts!
I was just reminded by one of my subscribers that this was a fun and easy project to make, again, using junk mail envelopes. I do love to repurpose and rescue paper whenever possible. I think this is such a fun and easy project to put together quickly. A great idea for when you want to create something, but are not sure what to make.
This is where we decorate what we just made. I thought I would have both videos in one post to make it easy, just in case you are looking for decorating ideas for the quick project you just made!
I have previously shared a quick tutorial on my YouTube channel on how you can make a quick and easy mini paper bag junk journal. You can use what you already have in your craft room. If you have paper bags, this will be so fun to put together.
I even show you the easy 3 hole pamphlet stitch step by step to be able to add your pages in a more permanent and fancy way (not staples required). I hope you enjoy this Tutorial. Also remember to check out my channel's tutorial playlist for more how-to ideas.
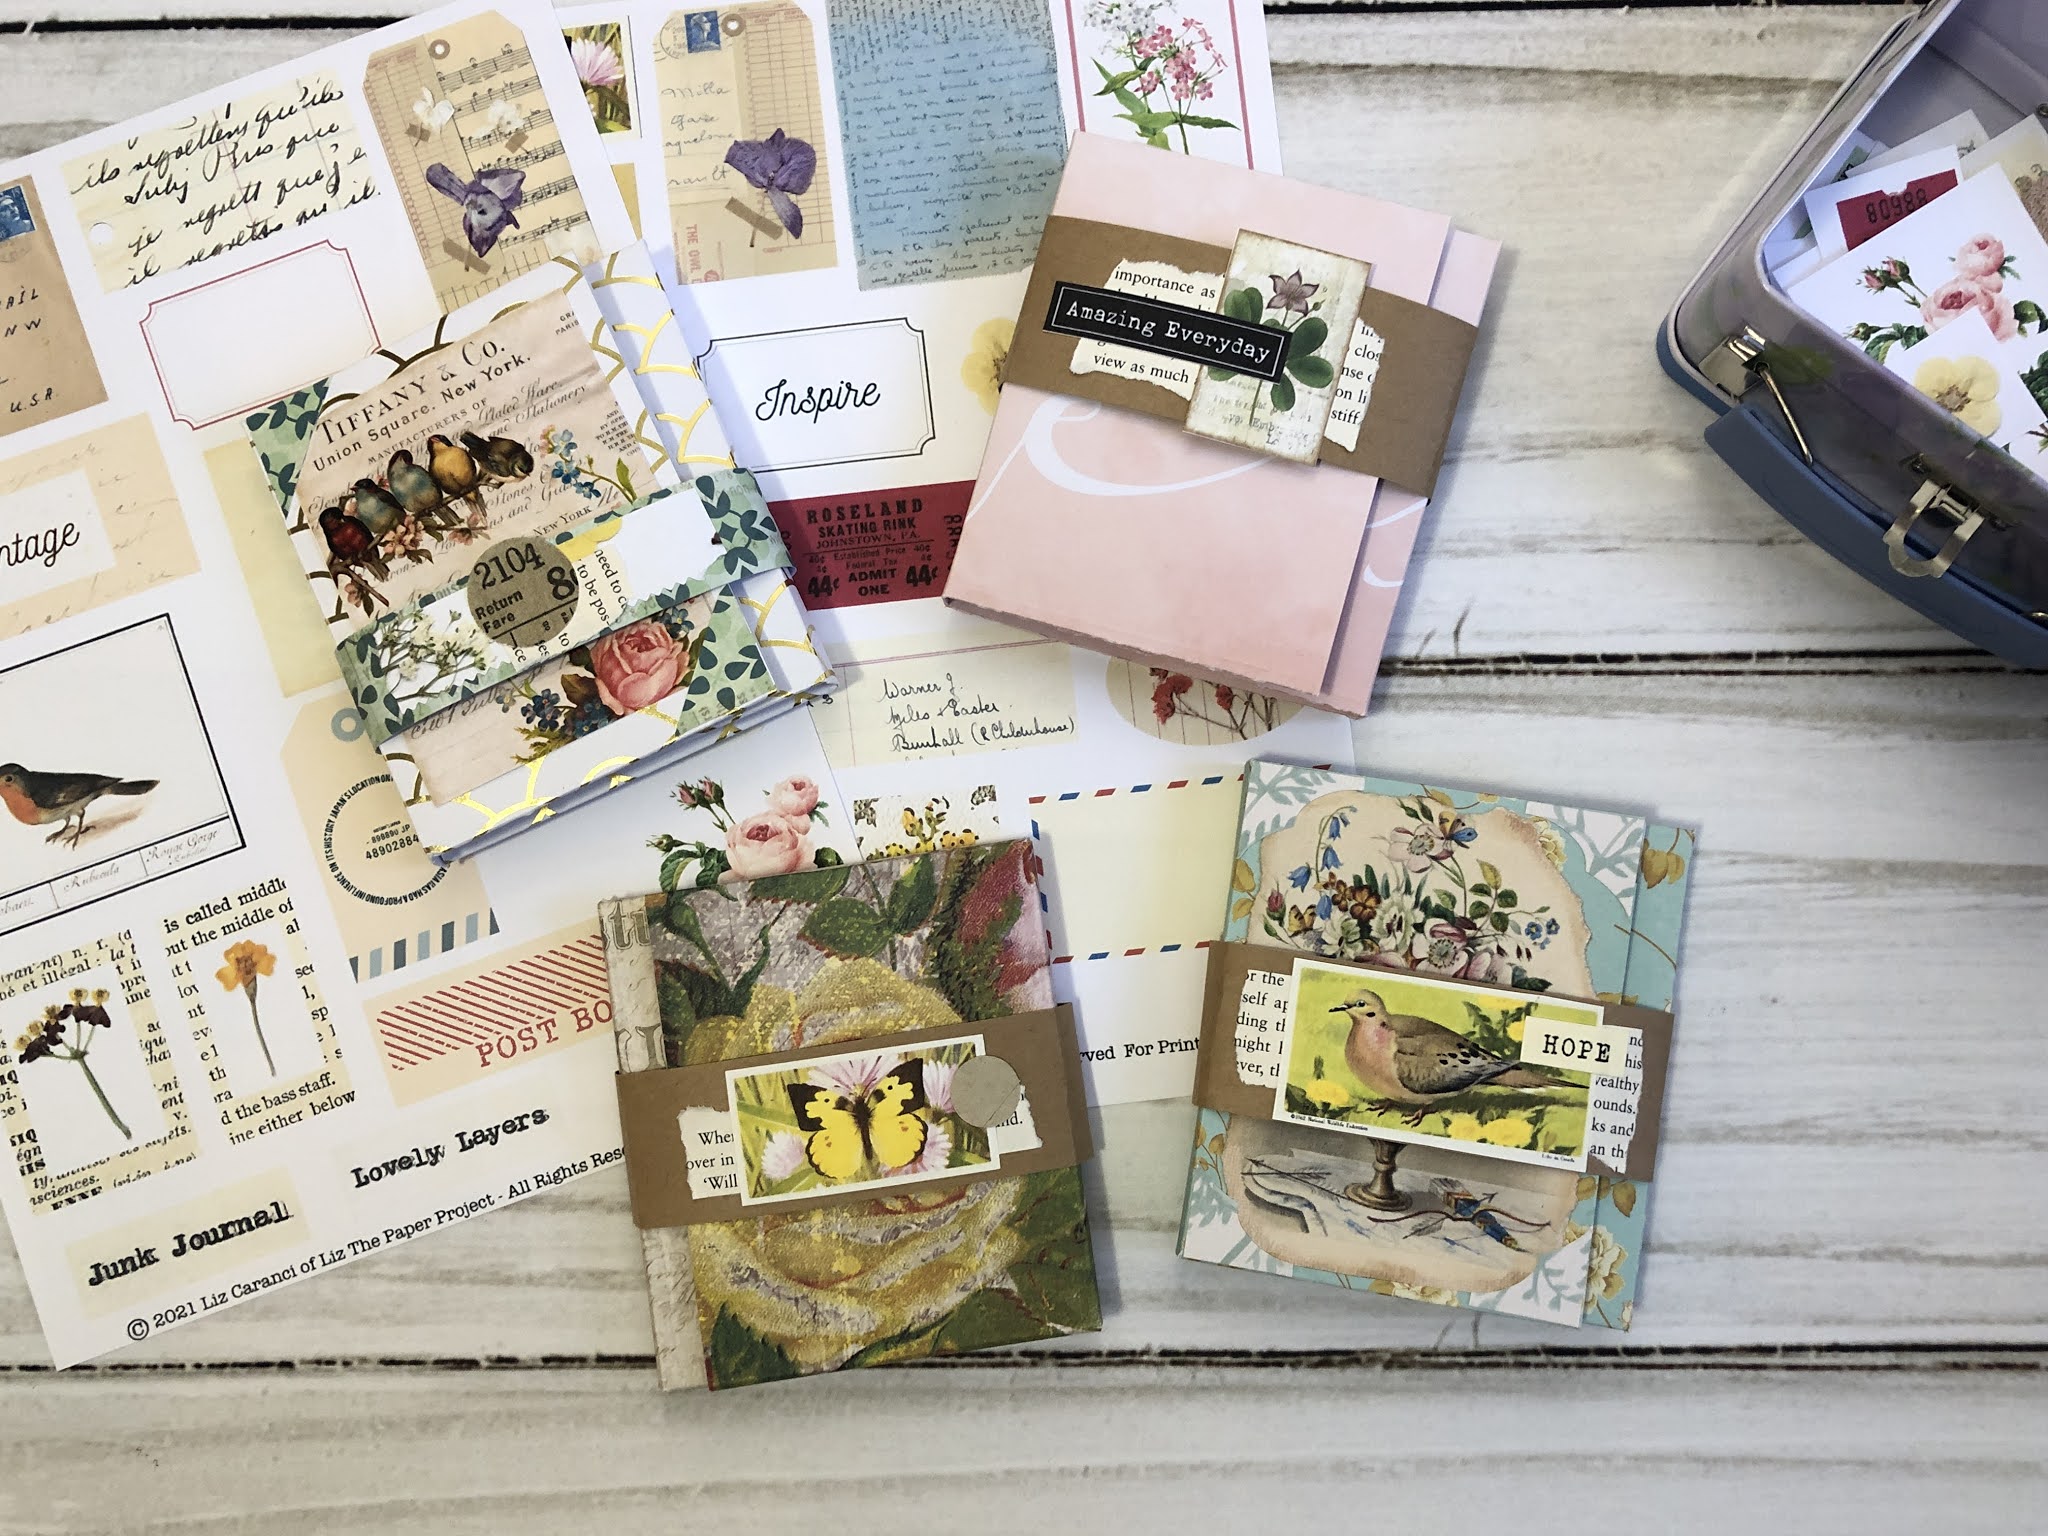
Many of you had requested to see how I cut the paper bag to make that secret pocket I shared in my Ideas Journal Video. The Ideas journal is one I use for reference, for inspiration when I want to remember a technique I saw or made, or one that I want to remember to use again. If you have not seen that video, I will share it below. I think all Junk Journal makers should have an Ideas Journal!
I have a couple of these journals that I enjoy updating often, and now I am working on my newest one - this TN style one did not have enough room, lol
I had so much fun making this spring themed album / folio. I need a little spring in my life. I am done with winter! In this project I used some gorgeous digital designs from Nitwit Collections. I really enjoy crafts that you can make at home, with items you may already have.
I love projects where you can tuck photos, ephemera, journaling, special pieces that will be found in later years. I think this would be such a wonderful handmade gift to send to someone special. This project has so much interactive elements!
I also enjoy adding lot's of interactive elements and of course being able to recycle / reuse some items in a project is always my go to. Even if it's the tiniest piece of recycled material.
I do have a tutorial for making this style of album / folio. We made one over the holidays! I often feel like I need to try out different themes or designs if I really liked the way they came out in the first place. This was the tutorial video for this design. If you want to make this design, see the video below.
I hope you enjoyed my quick and easy spring themed project.
Today I am having some fun with some new cutting dies, and an embossing folder. I love using these fun tools in my paper crafting. For my quick project, I recycled a junk mail envelope and made a cute pocket to hold my embossed tag. You will find I have several videos showing you how I like to use junk mail envelopes in my creations, and I have made a few fun projects with them.
Do you enjoy recycling / repurposing items in your crafts as much as I do? I think it makes crafting so much more fun! For more ideas check out my Junk Mail Envelope Projects playlist on my YouTube channel.
If you are new to Junk Journals and would like some new ideas on what to add to them, the easiest one to start with is an Ideas Junk Journal. This journal is to keep as reference, for easy to access projects that you can add to your future work.
If you have never made a junk journal and wanted a quick tutorial on how to put one together, I have a few different one's on my channel. Check out the playlist for Beginner Junk Journal ideas for this and many more creative projects I have shared before.
I also share some ideas on how to bind your own journal, in very easy and quick ways. I hope you find some time to create today! Let me know if you make any of the projects, I would love to see what you make.
On my YouTube channel I show you how to make this easy slider card, step by step. I also have links to my fave supplies list, where you can find the mini envelope dies I used to make it. However, I know that many of you might not have the dies or want to purchase them, so I have shown you an option here on how you can make your own mini envelopes to make this same design.
Step 1 - Make an envelope. You could use your envelope punch board, or make your own. These are so easy to make. I also have a quick tutorial on my channel on how you can make an easy envelope. See my tutorials playlist.
Step 2 - Mark and cut out your slit on the envelope. I like to use my hole punch to start me off, on each side of the envelope slit.
Step 3 - Cut your slit. Easy peasy. Now you have your own slide envelope that you can add to your projects.
I hope you enjoyed the share. Please leave a comment if you would like to see more projects like this on my channel or if you have suggestions on what else we could use to make this project easier.
The dimensions for the card I made in the video are 2 pieces of cards stock. Card base is 5 7/8" x 4 3/4" and the card top is, 5 1/2" x 4 1/4". The rest you measure depending on your envelope size.